
Using SAM Splints to Maximum Effect
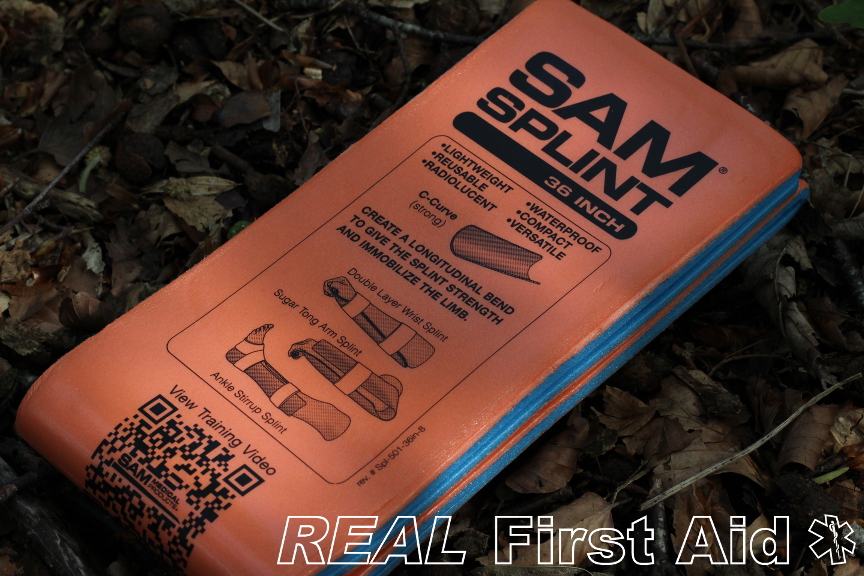
SAM Splints are one of the simplest and most versatile pieces of first aid equipment available so at least one should be in every outdoor First Aid kit. A soft, malleable aluminium strip sandwiched in foam, the splints become fairly rigid once formed into a 3D shape, the more complex the shape, the more rigid they become.
They are by no means the gold-standard in immobilisation but given their small size, light weight, ease of use, reusability, are unaffected by water, heat, dirt, have no moving parts, can be cut with shears and are radiolucent, for under £12 their value cannot really be matched by anything else.
But as with all equipment, the value is not in owning them, it is in knowing how to use them effectively:
General Principles.
When moulding the Splint, mould it around someone of a similar size and build as the casualty. DO NOT mould the splint around the casualty's injury!
A Splint can be made more comfortable by padding it once formed or inserting it into a thick sock. This is especially important for long term use.
The Splint can be held in place with anything from torn t-shirts to tape. Elasticated bandages, cohesive bandages and cling film provide greater stability and more even pressure along the limb. Cling film has been used in these photos for clarity and is our preferred choice but caution should be use with both cling film and cohesive bandages; because of their resistance to stretch it is very easy to apply them too tightly.
Always check Colour, Sensation and Movement (CSM) of the extremities of the injured limb before and after applying the splint and regularly thereafter. Be prepared to remove the Splint as soon as there is a loss or reduction in one of these functions.
Splinting an injury is not time-critical so take your time. Prototype your splint on someone else before attempting to apply it to the casualty. Find out what works and what doesn't work. The casualty will not appreciate you making mistakes on them.
There are only three criteria to effective immobilisation: it must immobilise, be comfortable and not affect circulation.
Wrist Injury
This is the most common uses of the Splint; it is effective and easy to apply.
Pinch the end at the elbow.
Once formed, apply padding or insert the splint into a sock.
Secure the splint; start wrapping at the wrist, work up to the elbow then back down again but this time to the knuckles.

An X Ray with a SAM split in place supporting the wrist. You can clearly see the ‘roll’ under the hand a a feint outline if the lefthand edge of the splint, hwoever, it does not obscure the imagaing of the bones.
Elbow Injury
Take one SAM splint and fold it in half, and then fold in one quarter again - one side should be twice as long as the other.
This is placed under the elbow, the short side fits into the inner arm, into the armpit, the longer side goes along the outside of the arm.
A second SAM splint is folded in half and interlock with the first, running along the length of the forearm.
The whole package is liberally wrapped in stretch wrap or elasticated bandage.
Ankle Injury - Weight-bearing
A weight-bearing ankle injury can be supported inside the boot or shoe to allow the casualty to remain mobile.
SAM recommend supporting the ankle as a 'stirrup' under the heal; this does not reduce flexion or extension of the foot.
Fully open the splint and position the centre of the splint under the arch of the foot.
Remove the insole of the footwear and place it between the foot and the splint.
Wrap and support one half of the splint up and across the shin before doing the same with the other side.
This splint is more effective if the casualty or an assistant is able to pull up on the splint as if they were pulling on wellies.
The immobilised ankle can be placed into the footwear - the lacing pattern will have to be adjusted to accommodate the extra bulk.
Ankle Injury - Not weight-bearing or unable to remove footwear
Where the ankle injury is not weight-bearing or if is not possible to remove the footwear in the case of an unstable ankle injury or simply too painful, the ankle is immobilised within the footwear.
The splint is applied in the same way as above but the strapping starts at the ankle, up the lower leg and back down to the ankle, finished with a figure of eight around the ankle and instep.
Knee Injury - Straight Leg
To properly support a knee injury in an extended position you will need two Splints.
Fold each splint into a narrow "V" and tape into position.
Fold a pronounced curve along the whole length of each structure.
Position each structure either side of the leg, centralised at the knee.
Cervical Collar
A SAM style malleable splint can be used to good effect to improvise a Cervical Collar. There is an increasing amount of evidence against the efficacy of proprietary cervical collars and that improvised devices offer similar levels of immobilisation.(1)
The technique recommended by SAM has one disadvantage in obscuring the larynx from observations and surgical intervention.
This is our version:
Grasp a folded splint at each end.
Fold the ends overs with your fingers whilst simultaneously creating a large curve in the opposite direction with your thumbs.
This is simply positioned under the casualty's neck and taped in place at the upper and lower edge whilst manual in-line stabilisation is maintained.
The application of any collar DOES NOT negate the need for manual in-line stabilisation.
Related Article - Spinal Injury in Remote Environments
Thumb Spika
Malleable splints can also be cut with Tuff Cut shears to fabricate small splints, ideal for thumb or finger injuries.
References
McGrath T, and Murphy C. (2009). “Comparison of a SAM Splint-Molded Cervical Collar with a Philadelphia Cervical Collar”. Wilderness & Environmental Medicine. 20. 166-8. 10.1580/08-WEME-BR-220R1.1.